

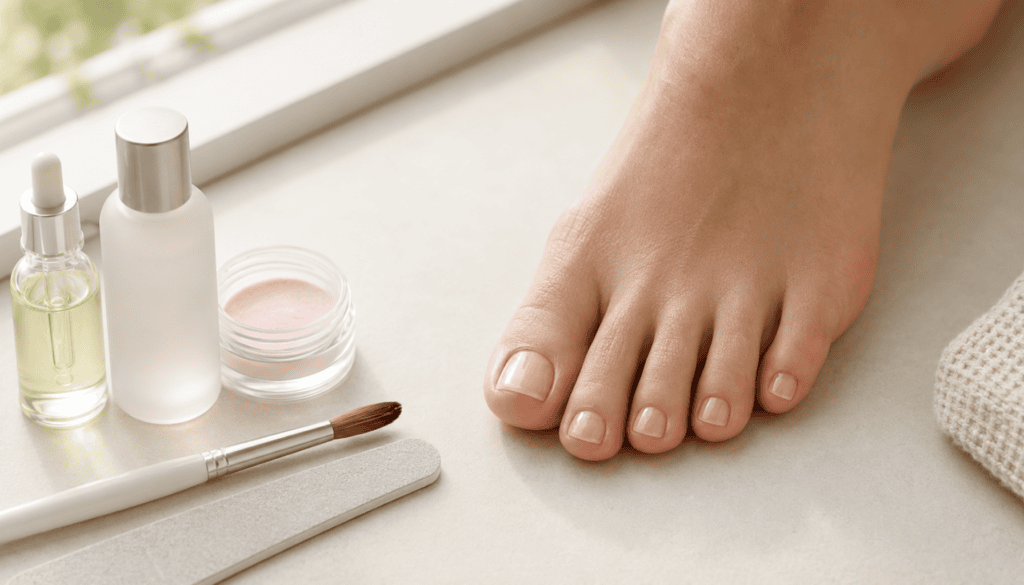
Acrylic toenails will look very natural when you keep them short. Personally, I love the thin acrylic overlay look because it easily blends with toenails and will be practical when you wear shoes.
If you’re going to try acrylic toenails for the first time, I wouldn’t recommend starting with the complete set. You can easily understand how acrylic moves and how the set gets started when you start your work on the big toenail first, as you’ll get more space to work.
One thing you may easily miss is acrylic thickness. A toenail may look fine when you look at it from the top, but it may feel uncomfortable while wearing your closed shoes. For me, the goal would be smooth, natural-looking acrylic rather than the extra length.
Below, I’m sharing the simplest way I would do an acrylic toenail overlay at home.
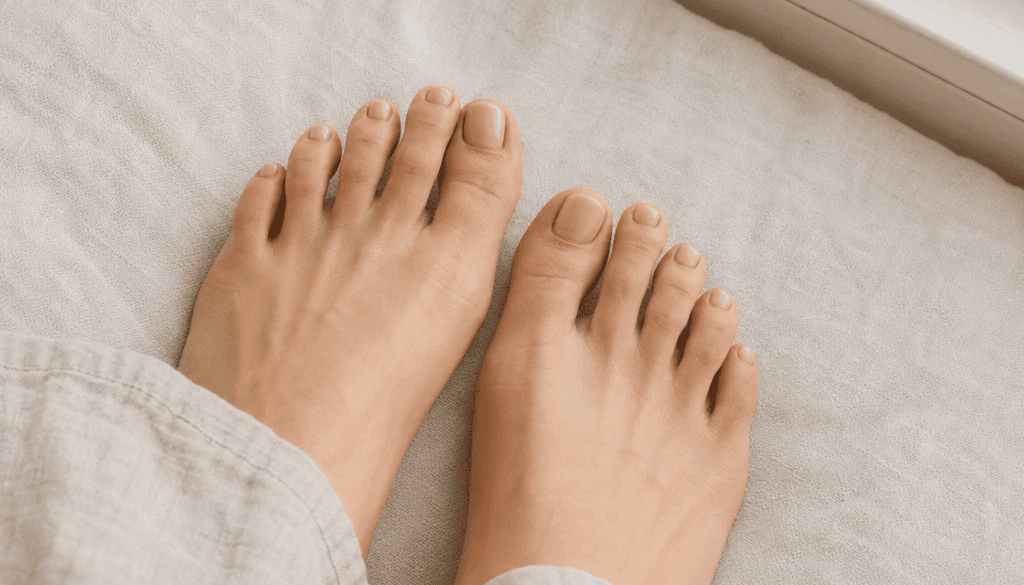
Check the Natural Toenail First
Before starting, always check your toenail. Remove your old polish and take a proper look at the natural toenail underneath.
The toenail should look healthy; you should not feel any pain or discomfort. If your nail feels thick, crumbly, has an unusual color, or has separated from the nail bed, I would never recommend covering it with acrylic.
Toenail discoloration is not always caused by the same reason. If you are unsure about the exact causes, these guides on yellow toenails and black toenails explain some of the common causes.
iI would skip the acrylic if my skin around the toe is broken, the toe is painful, or healing is ongoing after an injury. Acrylic may cover the problem for a while, but it will not treat what is happening underneath the toenail.
If you have diabetes, poor blood circulation, or reduced sensation on your feet, it’s better to take advice from a healthcare professional before trying a toenail enhancement at home.
A Quick Note About Acrylic Products
Liquid and powder acrylic products contain methacrylates. These ingredients help the acrylic harden. When uncured acrylic is exposed to the skin repeatedly, it may cause an allergic reaction.
This is one part of the application I would be especially careful about.
Buy a clearly labeled acrylic system from a reputable seller. Liquid and powder are designed to work with the same system; I would avoid mixing both from different brands.
Always work near an open window because Acrylic monomer has a very strong smell, and don’t keep the bottle open for too long; you may feel the strong smell.
Importantly, keep the Monomer, primer, and acetone safe and away from heat, flame, children, and pets.
If you have already had any allergic reaction while using acrylic, gel polish, or nail glue, I would not recommend trying acrylic at home without first speaking with a dermatologist.
What You Will Need
For a basic acrylic toenail overlay, you will need:
- Acrylic liquid monomer
- Matching acrylic powder
- Nail dehydrator
- Compatible primer
- Small acrylic brush
- Glass dappen dish
- Toenail clippers
- 180/240-grit hand file
- Fine buffer
- Clean cuticle pusher
- Lint-free wipes
- 70% isopropyl alcohol
- Dust brush
- Regular or gel top coat
- Cuticle oil
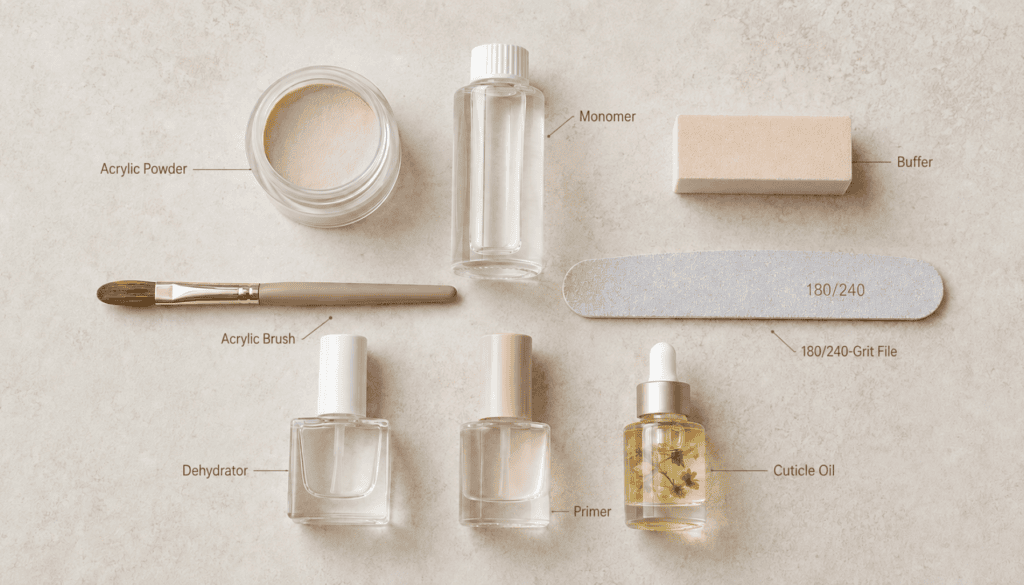
Wait, don’t panic if this list looks long. You may not need to buy all of these items separately. A beginner acrylic kit will usually include the main application products, such as the liquid, powder, and brush. You may already have some of the remaining tools at home.
I would also avoid using an electric file while learning. It removes product quickly, but it is easy to file too deeply or create heat on the natural nail. After some practice, you can buy one.
This post contains affiliate links. If you purchase through this link, I may earn a small commission at no extra cost to you.
How to Do Acrylic Toenails at Home
The acrylic bead is usually the part that takes the most practise.
Before directly applying to your toenail, I would try a few beads on a plastic nail tip. This only takes a few minutes, and it gives a better idea of how much Monomer and powder you should use.
1. Remove the Old Polish
Remove the old nail polish completely, so you can see the entire nail clean.
Wash your feet with soap and water and dry the nails and the space between the toes thoroughly.
Don’t apply lotion or cuticle oil before starting. If any oil is left on the nail, the acrylic may not attach properly.
2. Trim and Shape the Toenail
Trim your natural toenail straight across, and leave some free edge.
I prefer to follow the natural nail toe shape rather than trying a square or pointed shape, so the natural shape will be comfortable and balanced with the other toenails.
Avoid cutting the Corners very deep. If you cut the toenail too short or round the sides too much, it may cause an ingrown toenail.
If you have sharp edges, use a hand file and smooth them.
3. Clean the Cuticle Area
Gently push back the loose tissue sitting on the nail plate.
You don’t need to cut the living cuticle or to dig the sidewalls. The area should still feel comfortable after you finish pushing.
If the skin starts looking red or feels sore, it measn you should not clean further.
4. Lightly Buff the Nail
To remove the shine from the nail surface, use a fine side of a file or buffer.
With just a few passes, the nail will evenly look matte, but it should not feel thin or sensitive.
Brush away all the dust once you are done.
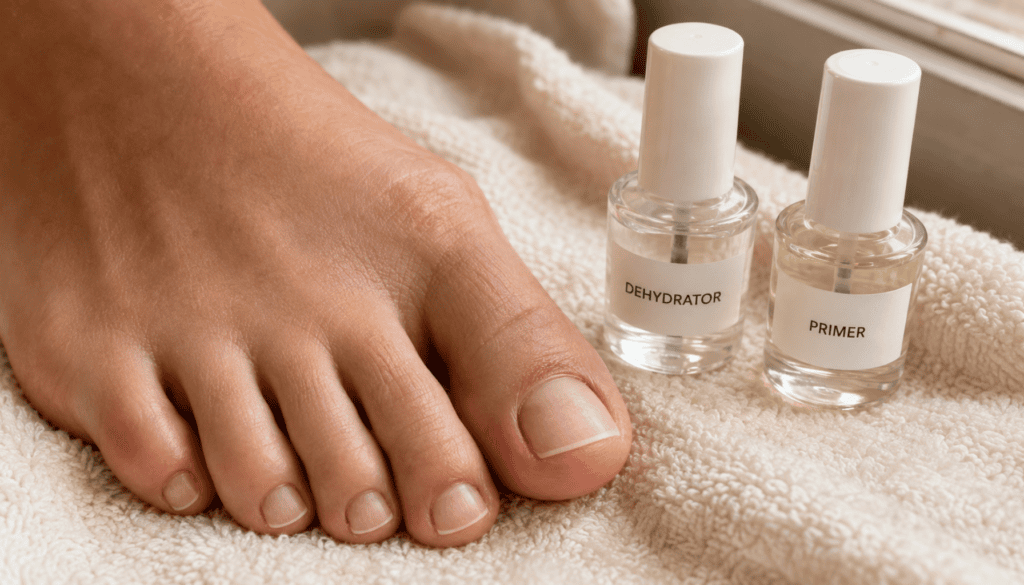
5. Clean, Dehydrate and Prime
Wipe the nail with a lint-free pad damped in alcohol and allow it to completely dry.
Apply the dehydrator and primer according to the instructions provided in your acrylic system.
Keep both products away from the surrounding skin, and mainly once the nail is prepared, avoid touching them with your finger because oil may transfer from your finger to the nail surface.
6. Pick Up the Acrylic Bead
Pour a small amount of monomer in the Dappen dish.
Dip the brush in the liquid, then lightly wipe one side against the edge of the dish. Touch the tip of the brush into the acrylic powder to pick up a small bead.
The bead should hold its shape. At the same time, when you press it gently, it should easily move.
If the bead spreads immediately, it is probably too wet. If it is grainy and difficult to move, the bead may be dry. I would practice on a plastic nail tip until the bead comes soft and workable without running.
Toenails need much less acrylic than fingernails, so begin with a smaller bead than you think you need.
7. Apply a Thin Acrylic Layer
Place the bead in the center of the Toenail and leave some space around the cuticle and sidewalls.
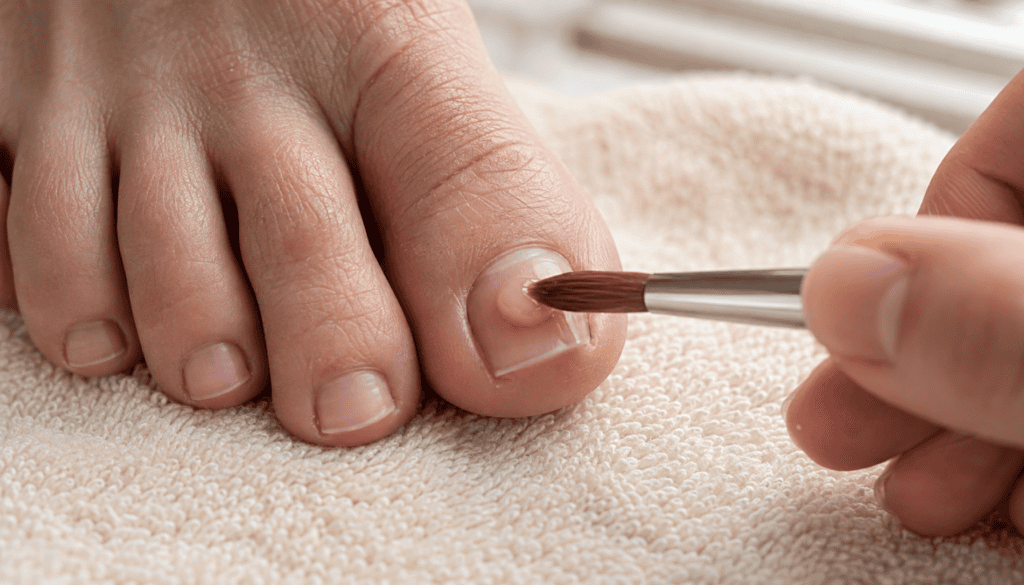
Press the acrylic using the brush’s body part.
I will work slowly instead of trying to cover the entire nail at once. If part of the nail needs more product, add another bead.
The finished layer should follow the natural toenail curve. You don’t need the thickness or high apex like a long fingernail extension.
If uncured acrylic touches the skin, remove it before it gets hardened.
8. Let the Acrylic Harden
Don’t disturb the nails until the acrylic gets set completely.
Traditional liquid-and-powder acrylic will harden naturally, so you don’t need to keep your hand on a UV or LED lamp.
Don’t press or file the acrylic when it is soft. After it gets completely hardened, brush handle-la light-ah tap pannina firm-ah feel aaganum.
9. File the Finished Shape
Use a hand file and smooth the free edge, sidewalls, and surface.
Check the toenail from above and side. When you see from aboveabove, the nails should follow the natural toe shape, and when you see from the side, it should look smoother than the bulky rise.
I will give some extra attention to the cuticle area. The acrylic should blend softly with the natural nail, and it should not be a noticeable ridge.
Keep the free edge close to natural toenail length. That should feel comfortable and should not feel pressure while wearing the shoe.
10. Apply the Top Coat
Remove the filing dust using the brush, and finish with regular top coat, or use a compatible gel top coat. If you choose gel, cure it for the time recommended by the brand.
Once everything is completely dry or cured, apply a small amount of cuticle oil to the surrounding skin.
How I Would Keep the Finish Natural
For my first try, I picked clear, soft pink, or natural-toned acrylic powder.
Compared with bright white acrylic, these shades will not make small uneven areas look obvious. So it may be easy for beginners.
I also prefer short toenails with a soft, rounded shape. That gives a natural look, and you can wear them comfortably with different types of shoes.
After filing, gently run your fingers over your toenail. You should not feel a sharp ridge near the cuticle, and the sides should not be raised either.
Before deciding your application is complete, try walking with your regular shoes. If your toenail feels squeezed or acrylic presses against the shoe, you can shorten the enhancement or smooth it.
Looking After Acrylic Toenails
You don’t need any complicated routine for acrylic toes, but it’s important to check them regularly.
After wearing closed shoes or after a workout, check the acrylic edges. If any edge catches on socks, don’t try to pull the acrylic; instead, inspect it.
Clean and dry the feet completely after bathing, swimming, or a workout. Apply plain moisturizer or cuticle oil surrounding the nail. Avoid applying heavy moisturizer between the toes.
How long the acrylic stays neat depends on its natural nail growth, shoes, and daily routine. My guide on how long acrylic toenails last explains the normal growth gap and the signs that the enhancement may need attention.
Don’t focus on how many weeks it stays; just enjoy the acrylic look and the feel.
If the Acrylic Starts Lifting
The acrylic may start to lift if oil or moisture remains on the nail, the product touches the skin, or the toe is being pressed inside the tight shoe. Tight shoes-kulla press aana, acrylic lift aaga start aagalam.
I would not recommend gluing the lifted edge or covering it with another acrylic; that’s not a good idea. Moisture or debris may already be trapped underneath.
Remove the affected overlay safely, and check the natural nail before applying another set.
If your nail color changes or you feel any pain there, don’t cover them again; it’s better to consult with a professional.
Removing Acrylic Toenails
Acrylic should be softened and removed with patience. You should not peel or pull the acrylic from the natural nail.
The Usual process is to file down the top coat first, carefully reducing the acrylic thickness, and then following the soaking method to remove the remaining product.
If the acrylic doesn’t soften enough, soak for extra time before scraping hard.
You can follow my complete guide on how to remove acrylic toenails safely for the full removal process.
Frequently Asked Questions
Can I Use a Regular Acrylic Nail Kit on My Toes?
A reputable liquid-and-powder acrylic system can usually be used for a basic toenail overlay if the product instructions allow it.
I would focus more on the quality and compatibility of the products than on whether the kit is specifically labeled for toes.
Avoid mixing liquid and powder from systems that are not designed to work together.
Do Acrylic Toenails Need a UV Lamp?
For traditional acrylic, you do not need a UV or LED lamp. The monomer and powder react together and harden in the air.
If you apply gel color or gel top coat over the acrylic, then you only need a UV or LED lamp.
Can I Wear Closed-Toe Shoes Afterward?
Yes, you can wear closed shoes once the acrylic and top coat have completely hardened.
Choose a shoe that has enough space for the toes and avoid a shoe that puts more pressure on finished toenails.
If it feels uncomfortable when you walk, adjust the length of the acrylic before wearing the shoes.
Can I Put Acrylic on a Missing Toenail?
If the nail bed is exposed, skin is broken, or your toenail is still healing, do not apply acrylic.
Speak with a podiatrist or dermatologist before covering the missing toenail. A professional cosmetic reconstruction may be more suitable in some cases.
Can I Apply Acrylic Over Toenail Fungus?
No. A nail that may have a fungal infection should be properly diagnosed and treated before acrylic is applied.
Covering the nail can make it harder to watch for changes, particularly if the acrylic begins lifting.
How Long Do Acrylic Toenails Last?
There is no exact wear time that works for everyone.
Nail growth, preparation, shoe pressure, and moisture exposure all affect how long the acrylic remains comfortable and firmly attached.
If it begins lifting, cracking, hurting, or changing color, I would remove it rather than waiting for a planned maintenance date.
Before You Go
I hope this guide has made doing acrylic toenails at home feel a little less intimidating.
You do not have to begin with a perfect full set. Start with one healthy big toenail, practice picking up a few small beads, and focus on keeping the finished layer thin and comfortable.
Take your time, follow the instructions included with your acrylic system, and do not try to cover a nail that looks unhealthy or feels painful.
If you try this at home, let me know in the comments. Did you begin with one big toenail or go straight for the full set?
