For many, the appeal of salon-quality acrylic nails is irresistible. However, the cost and commitment of regular appointments might be discouraging. What if you could create magnificent, long-lasting nails embellished with the bright world of nail powder from the comfort of your own home? This step-by-step guide will teach you how to do Acrylic Nails at Home and become your own nail artist, using acrylic and nail powder to create a unique masterpiece.
Acrylic Nails at Home: Gathering Your Supplies
- Acrylic essentials: Liquid monomer and acrylic powder (your option of transparent or tinted).
- Nail prep: Nail clippers, nail file (180/240 grit), orangewood stick, cuticle pusher, buffer, non-acetone nail polish remover, cotton balls.
- Application tools: Acrylic brush (size #12 or similar for beginners), dappen dish (small glass or metal container to hold monomer).
- Finishing touches: Top coat, nail art tools (optional, for designs).
Important Note: Acrylic liquid and powder produce intense fumes. To ensure appropriate ventilation, open windows and use a fan and Wear a mask to prevent inhaling while doing Acrylic Nails at Home.
Step 1: Prep Makes Perfect
- Clean Slate: Begin with squeaky-clean, dry nails. Remove any old polish with non-acetone remover.
- Shape Up: Use clippers to cut your nails to the appropriate length. File them into the desired shape (almond, square, round, etc.) using the 180 grit side for shaping and the 240 grit side for smoothing.
- Cuticle Care: Use an orangewood stick or cuticle pusher to gently push back your cuticles. Take care not to injure the delicate skin.
- Buff It Out: To improve acrylic adherence, softly buff the surface of your nails using the buffer.
- Wipe Clean: Remove any dust or debris left from buffing with a cotton ball soaked in non-acetone remover.
Step 2: Applying the Acrylic Base
- Dappen Dish Delight: Pour a small amount of liquid monomer into your dappen dish.
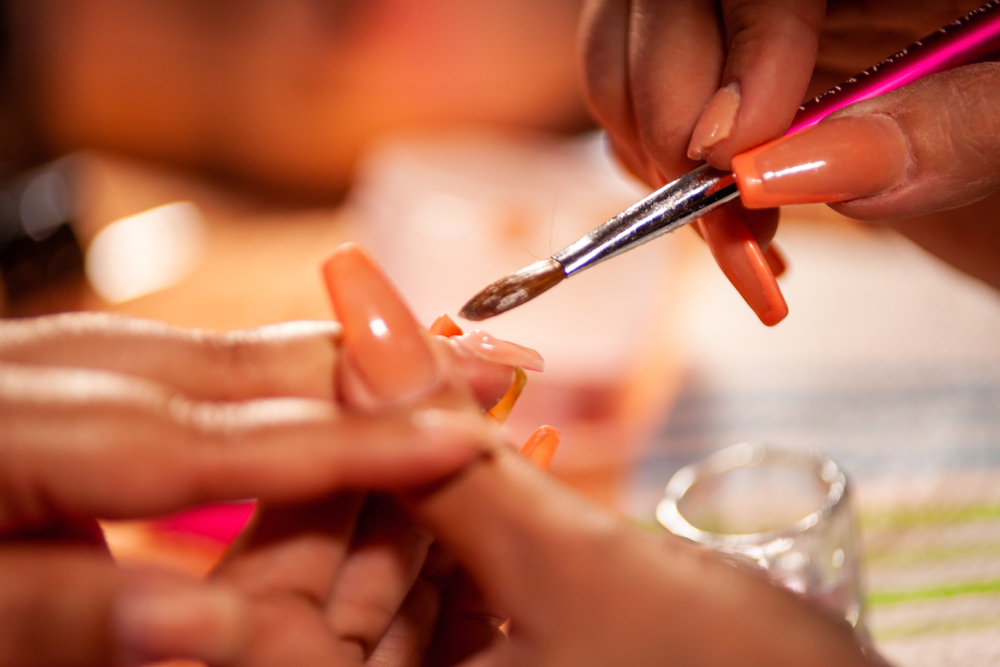
- Brush Buddies: Dip your brush into the monomer, then carefully tap it against the side of the dish to remove any excess moisture. A saturated brush will cause the acrylic coating to clump.
- The Beady Bunch: Touch the tipped brush lightly to the acrylic powder, creating a small, damp bead. Aim for a consistency slightly thicker than honey.
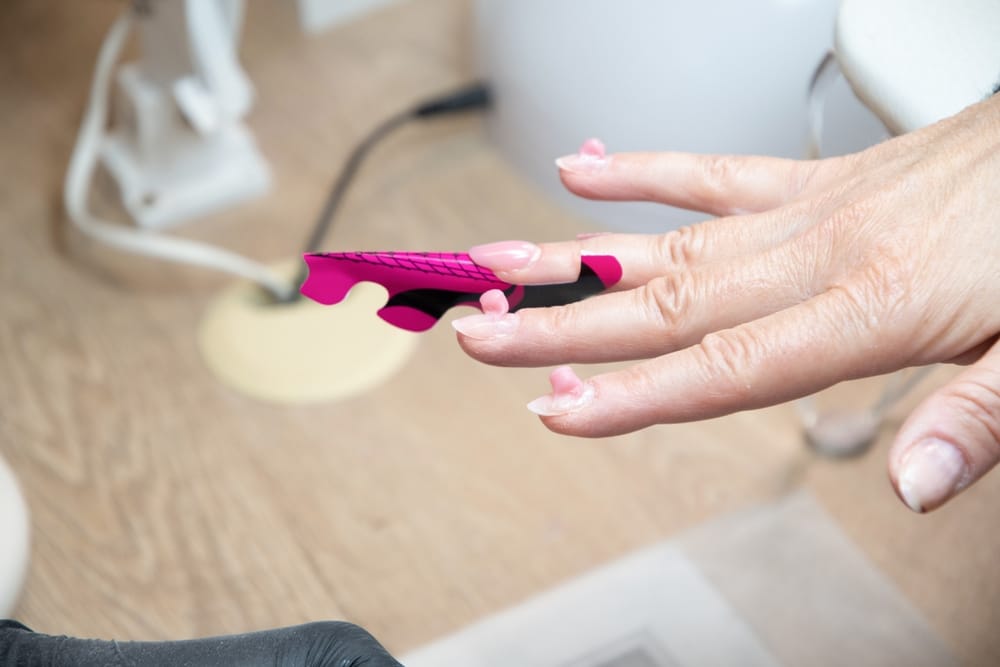
- Three’s the Magic Number: (Optional) For beginners, the three-bead approach provides greater control. Apply the first bead to the free edge (tip) of your nail, patting lightly to form the apex (highest point). Using the brush, drag the bead down towards the cuticle to shape the nail. Repeat with a little larger bead for the apex and a smaller bead at the cuticle, making sure none contacts your skin.
- Two-Bead Technique (Alternative): The two-bead approach allows for a speedier application. Apply a larger bead near the free edge and apex, followed by a smaller bead near the cuticle, using the same application principles as the three-bead approach.
- One and Done (Advanced): Experienced users can attempt the one-bead method. Pick up a larger bead and carefully apply it near the cuticle, sculpting the entire nail with the brush.
- Practice Makes Perfect: Work on a single nail at a time. If the acrylic dries out before you complete shaping, dip your brush back into the monomer to rewet it slightly.
Step 3: Sculpting and Smoothing
- Work Quickly: Acrylic cures (hardens) relatively fast. Work on one nail at a time to ensure you can manipulate the acrylic before it sets.
- Brush Basics: Use the flat side of the brush to pat and smooth the acrylic into place.
- Refine and Define: Use the brush’s sides to refine the edges of the nail and ensure a clean, crisp line along the cuticle.
- Repeat and Refine: Repeat steps 2-4 for each nail.
Step 4: The Powder Powerhouse
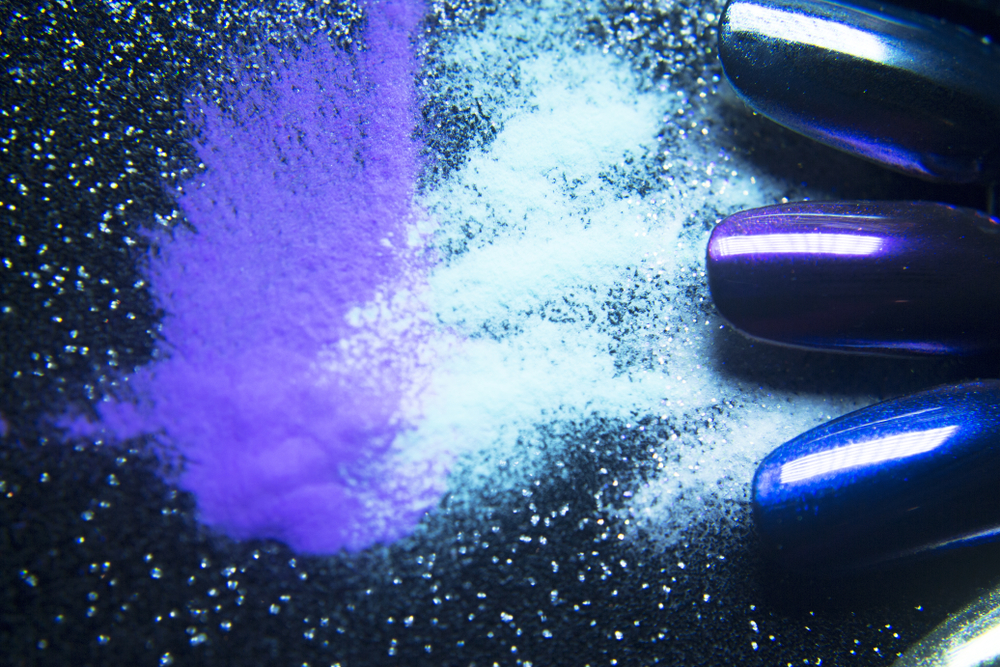
- Color Me Captivated: Once the acrylic has fully set (typically within a few minutes, check for a tack-free finish), it’s time for the fun part: applying nail powder! Dip your brush lightly into your preferred color powder and carefully tap off any excess.
- Powder Play: Lightly dust the colored powder onto the uncured acrylic layer on your nails.
Step 5: The Powder Powerhouse
- Powder Play (Continued): A sponge applicator can be used to achieve a more scattered, ombre appearance. Work in thin layers, increasing the color intensity as needed.
- Encapsulate the Magic: After you’ve achieved the appropriate color vibrancy, add a thin layer of clear acrylic powder to the entire nail. This process encases the colored powder and provides a smooth, protective finish.
Step 6: Filing and Finishing Touches
- File Finesse: Once the acrylic is completely cured, use the 180 grit file to refine the overall shape and length of your nails.
- Buff and Shine: Use the buffer to smooth out any ridges or imperfections left by filing.
- Top it Off: Apply a high-quality top coat to seal the acrylic and nail powder, protect your nails from chipping, and add a glossy shine.
- Clean Up Crew: Dip a cotton ball in non-acetone nail polish remover and gently wipe away any excess acrylic around your cuticles.
Embrace the DIY Diva Within
With a little practice and this guide, you can achieve salon-worthy acrylic nails with the dazzling world of nail powder at home. So, unleash your inner nail artist, experiment with colors and designs, and flaunt your captivating fingertips! Remember, practice makes perfect, and with time, you’ll be a nail pro in no time!