
How to Shape Acrylic Nails Like a Pro Using the Right Tools
Shaping acrylic nails is an essential skill for any nail artist, and mastering this technique can elevate your work to a professional level. The right tools, coupled with proper technique, can make the shaping process more efficient and yield stunning results. Whether you are a beginner or an experienced technician, understanding how to effectively use your tools is key to achieving the perfect shape.
Choose the Right Electric Nail Drill
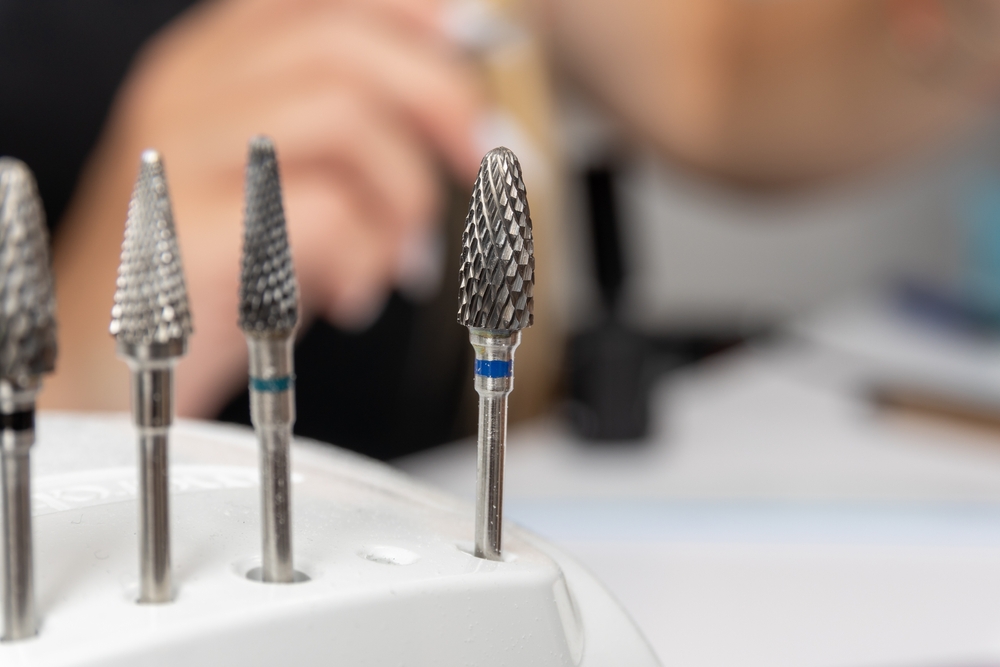
The first step to shape acrylic nails is selecting the right acrylic nail tools. A good quality acrylic nail drill is indispensable for smoothing out the surface and refining the shape. Look for a drill that offers variable speed settings, allowing you to adjust the power according to the thickness of the acrylic and the precision required. In addition to the drill, various drill bits, such as carbide or ceramic, are essential for different tasks. Carbide bits are great for removing bulk product and shaping, while ceramic bits can be used for finer work and finishing. Having a range of bits at your disposal ensures that you can tackle any aspect of the shaping process effectively.
Prep the Nails Properly Before Shaping
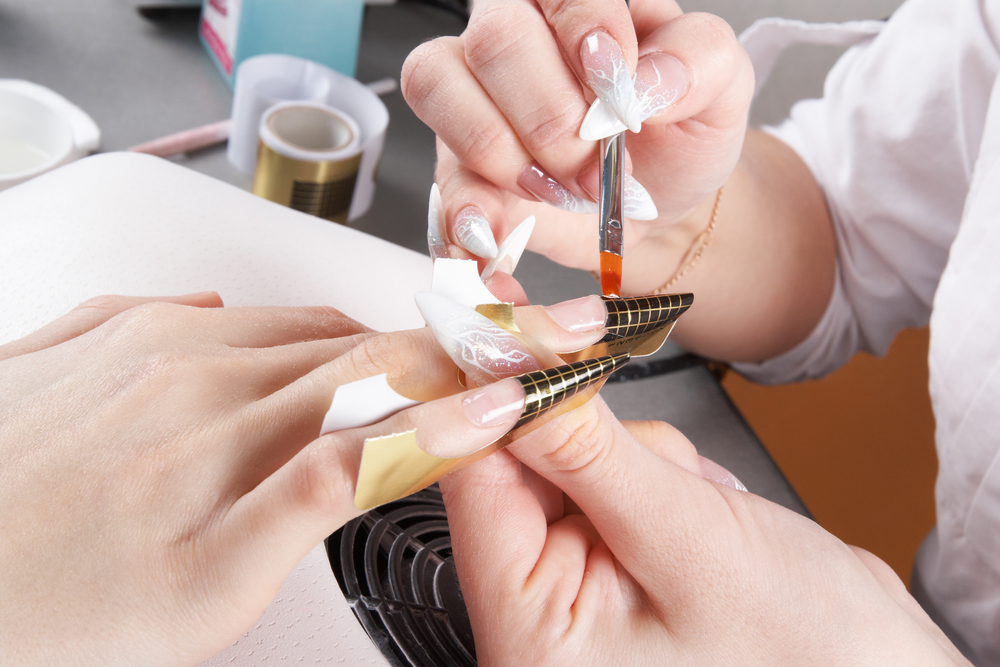
Once you have your tools ready, it’s time to prepare the nails. Start by ensuring that the acrylic is fully cured. If you’re working on newly applied acrylic, give it a few minutes to harden completely. Once you are certain the acrylic is set, use a coarse file to begin shaping the free edge of the nail. The choice of shape—whether square, almond, stiletto, or coffin—will dictate how you approach this step. For square nails, file straight across the free edge, keeping the sides parallel.
For almond or stiletto shapes, file the sides at an angle to create a tapered effect. The coffin shape requires a blend of both square and tapered techniques, so make sure to visualize your desired outcome as you work.
Choose the Right Nail File Grit
When filing to shape acrylic nails, it’s crucial to maintain a steady hand and consistent pressure. Avoid applying too much force, as this can lead to uneven edges or damage to the acrylic. Instead, use light, controlled strokes, gradually refining the shape. As you shape the nails, regularly check your work from different angles to ensure symmetry. This attention to detail will help you achieve a polished finish. If you’re unsure about the shape, take breaks to step back and assess your progress; sometimes, a fresh perspective can help identify areas that need adjustment.
Use an Electric Nail Drill
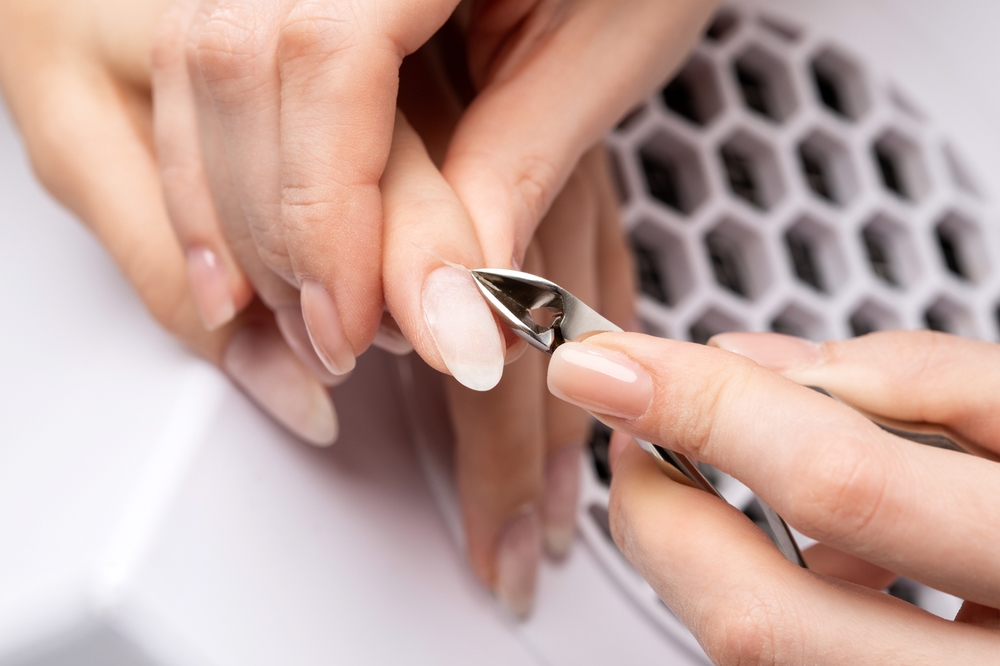
After shaping the free edge, it’s time to focus on the surface of the nail. Using your acrylic nail drill with a finer bit, gently buff the surface to remove any imperfections and create a smooth finish. This step is essential, as it prepares the nails for polishing or additional design work. Pay special attention to the cuticle area; ensuring a smooth transition between the nail and the skin is crucial for a professional look. Be cautious not to over-file in this area, as it can lead to lifting or discomfort for the client.
Utilize a Buffer And Quality Dust Brush
Once you have shaped and buffed the nails, it’s important to remove any dust or debris created during the filing process. Use a soft brush to gently sweep away particles, and consider wiping the nails with a lint-free wipe dampened with alcohol.
This step not only cleans the surface but also helps prepare the nails for any further application, whether it be polish, gel, or additional acrylic.
Work Slowly to Shape Acrylic Nails
Another essential aspect of shaping acrylic nails like a pro is understanding the anatomy of the nail. Familiarize yourself with the natural nail shape to shape acrylic nails, as this knowledge will inform how you shape the acrylic overlay. For example, if the natural nail is more oval, shaping the acrylic to match will create a harmonious look. Conversely, if the natural nail has a stronger curve, you may want to adapt your technique accordingly. Listening to the client’s preferences and considering their lifestyle can also guide your shaping choices.
Finally,
practice is vital when it comes to perfecting your shaping techniques. The more you work with different shapes and styles, the more comfortable you will become with your tools and processes. Don’t hesitate to experiment with various shapes to shape acrylic nails and techniques on practice hands or models. Over time, you will develop your own methods and preferences, allowing you to work more efficiently and don’t forget to do Proper acrylic nail tool storage that is essential for maintaining hygiene, safety, and the overall longevity of your equipment.