
If you have tried acrylic nails, you might have experienced these problems. The bead doesn’t fit correctly, the arylic may not spread evenly, and the final look will feel bulky and messy.
So naturally, we will use to think first, “ Why can’t I do my acrylic nails perfectly?”
But honestly… The Problem is not you… The main culprit is your brush.
Even I faced the exact situation :(I started using a different powder, saw many YouTube tutorials, and changed my complete technique
But the result? was same..
However, I just randomly changed my brush, then the real games started.
✔ Beads started to form smoothly
✔ Got Control very easily
✔ My nails got a clean, neat look
Only then have I realised that if we have the right brush, our work is already half completed.
So in this guide, I’m gonna help you with
- Understanding how acrylic brushes actually work.
- Choose the right one based on your level.
- Avoid common beginner mistakes.
- Get salon-quality results at home.
Choosing the right acrylic nail brush for beginners can be confusing. However, with the right guidance, it becomes much easier. So, let’s understand what really matters.
After reading this guide, you’ll choose the brush without confusion based on your level, and the application will feel very easy.
Why Your Acrylic Brush Is Your Most Important Tool?
Basically, your brush is your control system.
In other words, the final look of the acrylic nails will be decided by your brush.
What will happen when your brush is good?
- The liquid absorption will be correct.
- Bead shape can be controlled smoothly.
- Overall, the application process will be clean and even.
As a result, your work will be very easy to complete.
But if you use the wrong brush?
- The bread will be very runny or dry.
- It will stick to an acrylic brush or spread badly.
- You lose Control
Eventually, you will get frustrated, lose confidence… and won’t get the correct results.
So, the Technique is important, but tools are equally important, too.
Real Difference (Wrong Brush vs Right Brush)
At first glance, you may think there is a small change,
But actually, this will change your entire result.
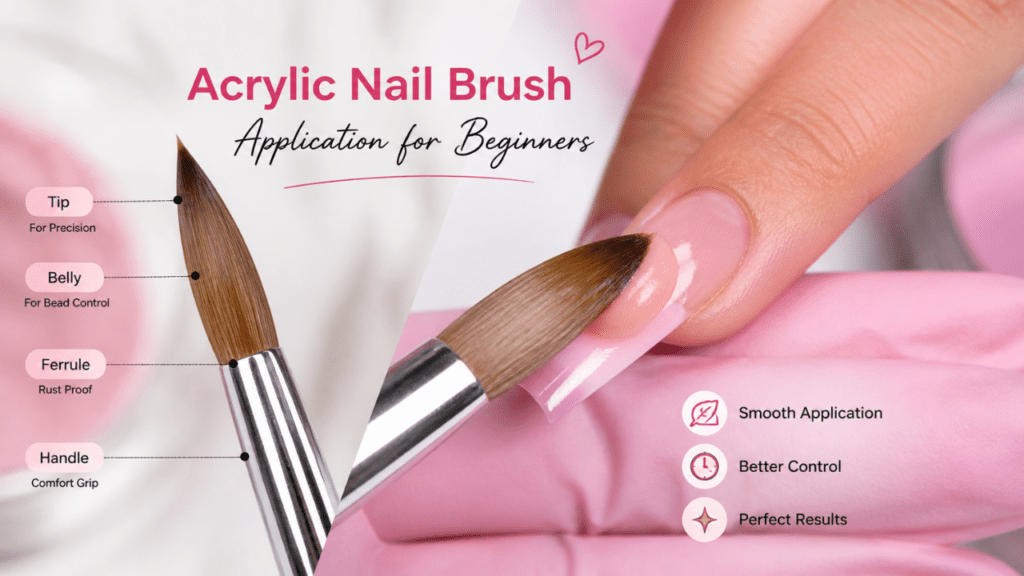
Brush Structure
While doing acrylic nails, technique is very important.
When you understand your brush structure, the work will be very easy.
In fact, most beginners will not get confused about technique, but they do not know how the brush will work. So, first, try to understand the basic parts of your brush,
Now we will see this in detail.
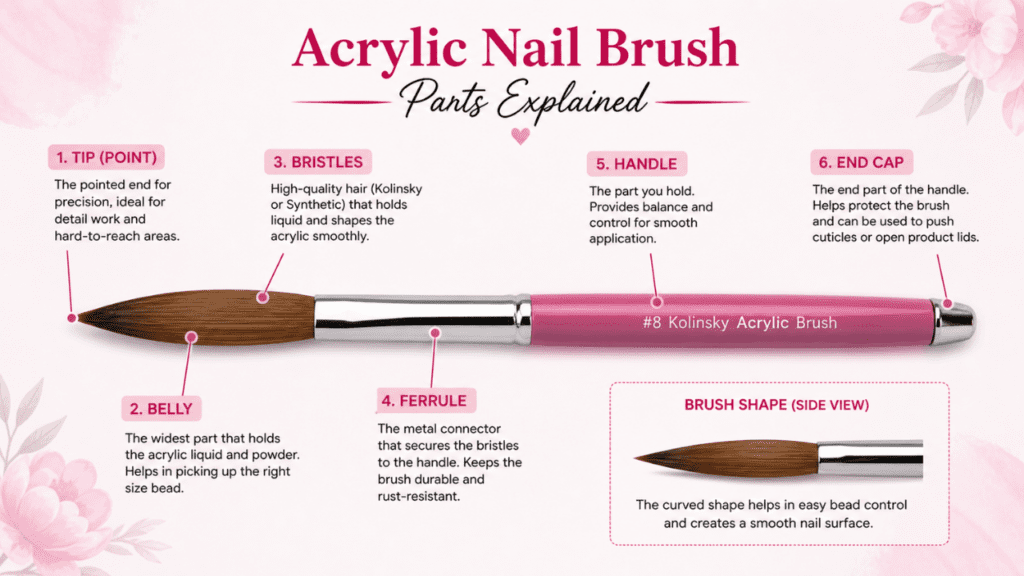
Handle
The part you hold: if you choose a product with a comfortable grip, long-term work will be easy.
The slippery or heavy handle is very difficult to hold.
Ferrule
This is the main metal part that connects the handle and bristles.
✔ It holds the bristles tightly
✔ maintains the brush shape
The ferrule will be weak in cheap brushes, leading to the brush hair shedding.
Bristles
Bristles are the main working area.
As we already know, this helps to,
✔ Pick Acrylic powder and liquid mix
✔ Helps to apply to the Nails
Bristle quality determines whether the fish will be smooth or uneven.
Belly
This is the most important one, the brush’s middle thick part.
This is the main reason for your bead,
✔ Holds Liquid (monomer)
✔ Helps to control the Bead size
If the Belly is correct,
✔ The Bead will form a smooth
✔ Application will be easy
Tip
The tip is the brush’s end, which helps to
✔ Shape
✔ Work on the Cuticle area
✔ For detailed work
If you choose a sharp tip, the finish will be very clean.
Common Beginner Mistake
The most common mistakes begginers do is,
Uses a small belly brush, so the liquid will not hold, loses bead control and the result will be messy nails.
Many beginners struggle with weak nails, read our guide on why nails keep breaking easily.
Kolinsky vs Synthetic Brushes (Which One Is Better?)
You would have probably heard of two types of brushes while choosing Acrylic,
- Kolinsky
- Synthetic
So, what are the differences? Which one is best?
Kolinsky brushes are high quality. However, they are expensive. On the other hand, synthetic brushes are budget-friendly. Let’s break it down simply,
Kolinsky Brushes
Kolinsky Brushes are a Professional Choice. This is made up of natural hair (Siberian weasel hair)
✔ Very good at holding the Liquid (monomer)
✔ Bead will form very smoothly
✔ Easily gets Control
Mostly salon professionals will use Kolinsky Brushes.
Pros:
- Best control
- Smooth finish
- Long-lasting
Cons:
- Cost will be high
- Needs Proper care
Synthetic Brushes
Synthetic Brushes are beginner-friendly. This is made up of artificial fibres.
✔ Budget-friendly
✔ Easy maintenance
✔ Perfect for Practice
Pros:
- Cheap
- Beginner-friendly
- Less maintenance
Cons:
- Hold less Liquid
- A little difficult for Bead control
Quick Comparison Table
My Final Suggestion
If you’re a beginner, start with Synthetic Brushes and gain practice. Once you have improved, shift to Kolinsky Brushes.
If your nails grow slowly, it can affect your application control. Learn more about why nails grow so slowly.
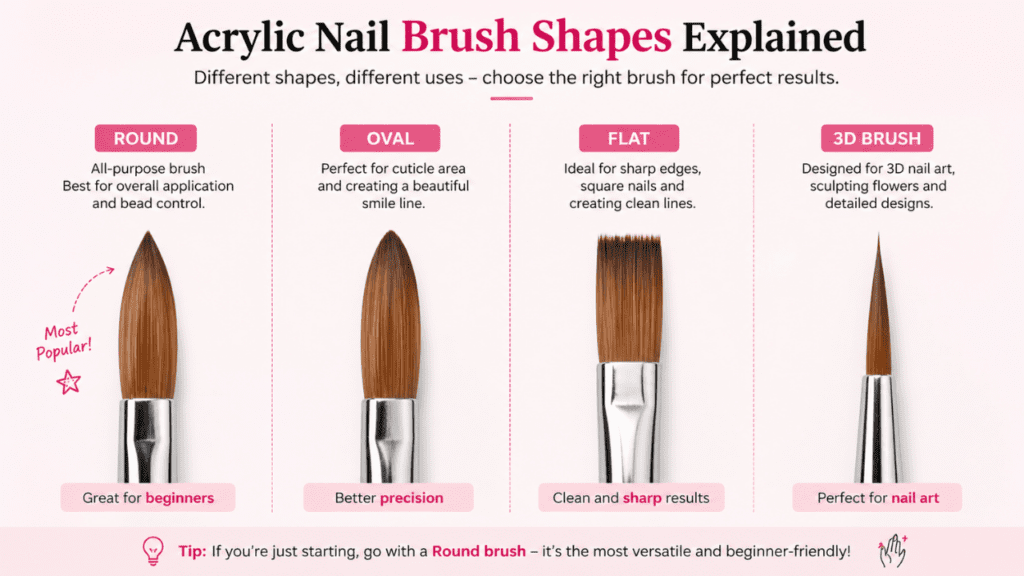
Brush Shapes
Brush shape is also important for acrylic nails.
Different shapes will give different results.
Round brush is all-purpose. In addition, it gives better control. Because of this, beginners prefer it. Now we will see the basic shapes of acrylic nail brushes.
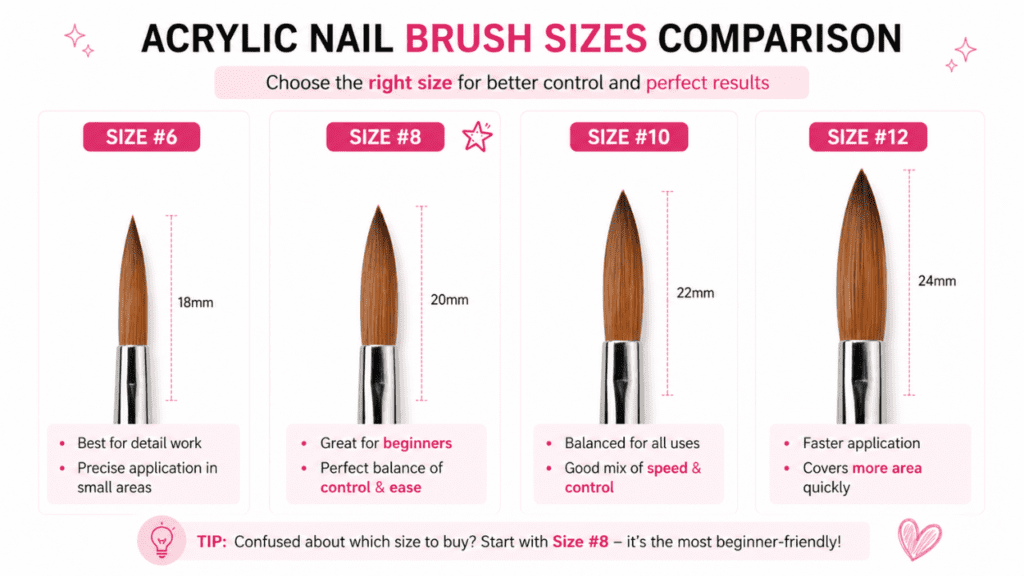
Brush Size (Most Important Section)
The brush size is most important. Most beginners make the biggest mistake here by choosing the wrong brush size.
In fact, if you use the correct size,
✔ Improve in Control
✔ Application will be easy
✔ Avoid Mistakes
Now, we will see the different sizes,
The Small size will give more control, and the big size will give speed.
If you are very confused, just directly buy Size #8.
Skill Level-Based Recommendation
Now, we will choose the right brush depending on your level.
So, let’s keep it simple here,
🟢 Beginner
- Size #8
- You can try a synthetic brush.
- Focus: control & practice
Even if you do slow down, that’s completely fine; Focus on control.
🟡 Intermediate
- Size #10 – #12
- You can go with a Kolinsky brush
- Start trying to improve the Speed
Here you will learn technique and speed balance.
🔴 Professional
- Size #12 – #16
- Buy a Premium Kolinsky brush
- Gives Fast and clean work
This is for Salon-level performance.
When you upgrade the brush size… your skills will also get upgraded.
Don’t move directly to the big size; move gradually.
The Size #8 is best for beginners. That’s why, it is highly recommended. So, if you’re confused, start with this.
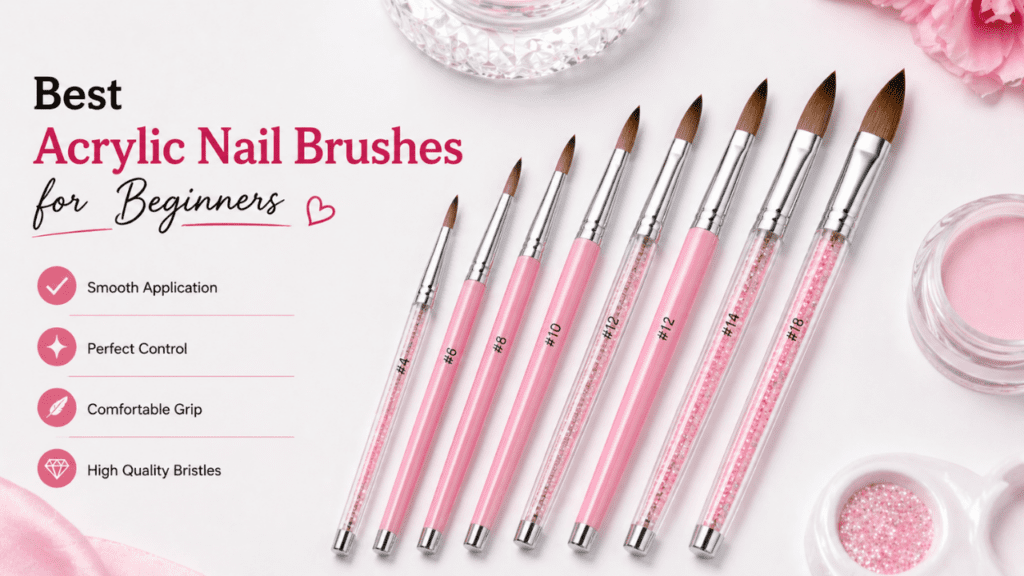
Best Acrylic Nail Brushes (2026 Picks)
Brush Care
You should not ignore the brush care, even if you use the best brush.
If you don’t give proper care, the brush will wear out quickly.
And when the brush gets damaged,
- Loose Bead control
- Messy Application
So, always follow simple care for your brush.
Do This (Must Follow)
- Use a monomer and clean gently.
- Use tissue and wipe the Mid part.
- After use, set the brush to the correct shape.
- Store in a proper Dry place
Avoid This (Common Mistakes)
- Don’t use Acetone on the brush; it will dry.
- Don’t leave Acrylic residue inside the brush.
- Don’t press the brush hard.
- Don’t bend the brush.
If you make these mistakes, the brush’s life will be cut in half.
Common Problems & Quick Fix
Proper nail care is just as important. You can also read how to protect nails while washing dishes.
Frequently Asked Questions (FAQs)
With a clean brush, the application will be smooth. A good brush will give better control, and proper storage will extend its life. “Take care of your brush, it will take care of your nails”
What is the best acrylic nail brush for beginners?
Size #8 synthetic brush is best for beginners. It is easy to control, beginner-friendly, and helps avoid mistakes.
How long does an acrylic nail brush last?
An acrylic nail brush can last 6 months to 2 years. It depends on usage, and lifespan increases with proper care.
Can I use the same brush for gel nails?
No, you should not use the same brush for gel nails. Acrylic and gel products are different, and using the same brush for both can damage it.
Which is better: Kolinsky or synthetic?
Kolinsky is better for professionals, as it’s smooth and precise, while a synthetic brush is better for beginners and is budget-friendly.
What brush size do professionals use?
Professionals usually use brush sizes #12 to #16. It covers more area, helps with faster application and gives good control
How do I know if my brush is damaged?
A brush is damaged when it loses shape and control. The Bristles will spread, the tip won’t be sharp, and bead control becomes difficult.
My Final Thoughts
When we think of choosing an acrylic nail brush, it feels easy.
You may think, “It’s just a brush… I can use anyone.”
But in reality… The correct brush alone will decide the entire result.
If you are a beginner or already practising acrylic nails, this will make a difference in your entire process…
Just choose, Right size, Right type, Proper care,
If these 3 are correct,
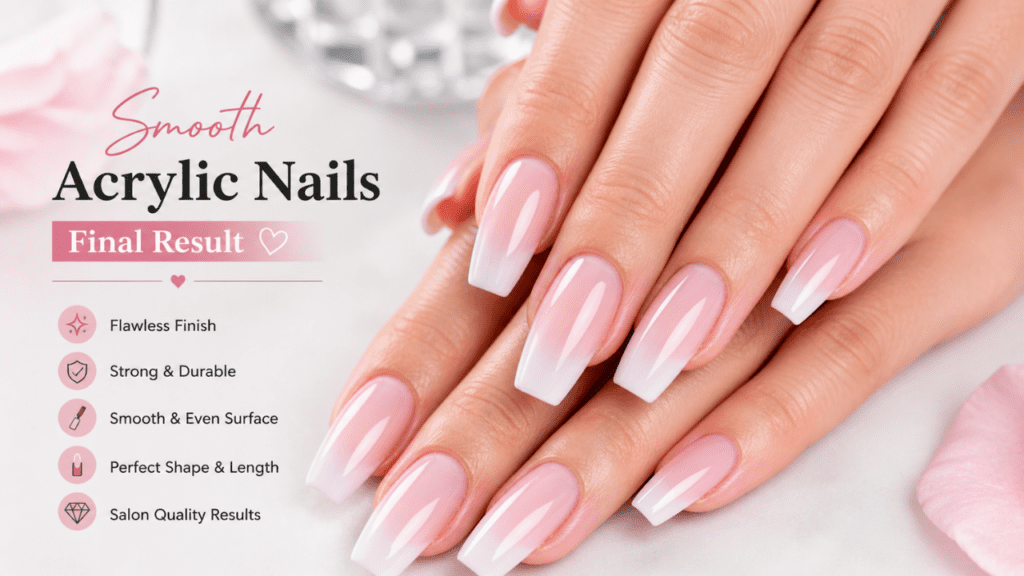
- The application will be smooth.
- Improves bead control
- Gives a neat Final finish
So, if you’re just starting… don’t overthink, go with Size #8 brush and Synthetic material brush. Using this size, you will learn quickly and build your confidence.As you improve, gradually upgrade to the larger sizes (#10 and #12) and try using a Kolinsky brush to increase speed and precision.
As a beginner, you will not get perfect nails overnight. By using the right brush, consistent practice and small improvements, you will be surprised by seeing your results.
