

Acrylic nails provide a durable, chip-resistant alternative to traditional polish. However, booking salon appointments can be pricey. What is the good news? Creating gorgeous acrylic nails at home is quite possible with the appropriate tools. This guide delves into the key tools that every DIY Acrylic Nail Set should include, preparing you to become your own nail technician.
Prep and Prime: Laying the Foundation
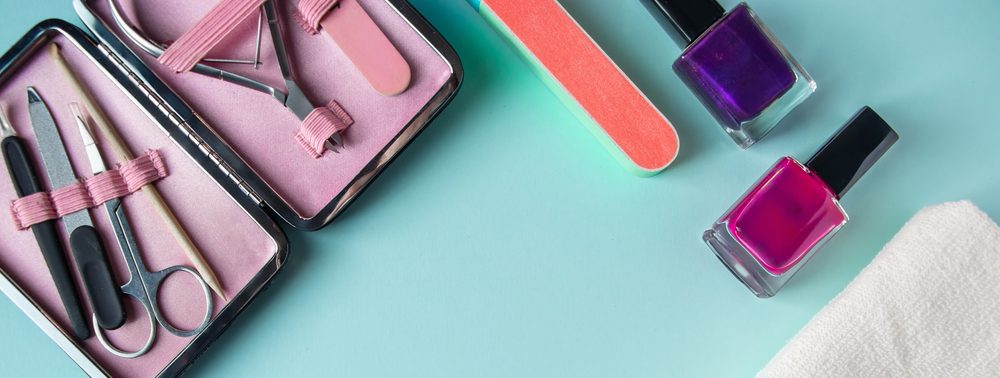
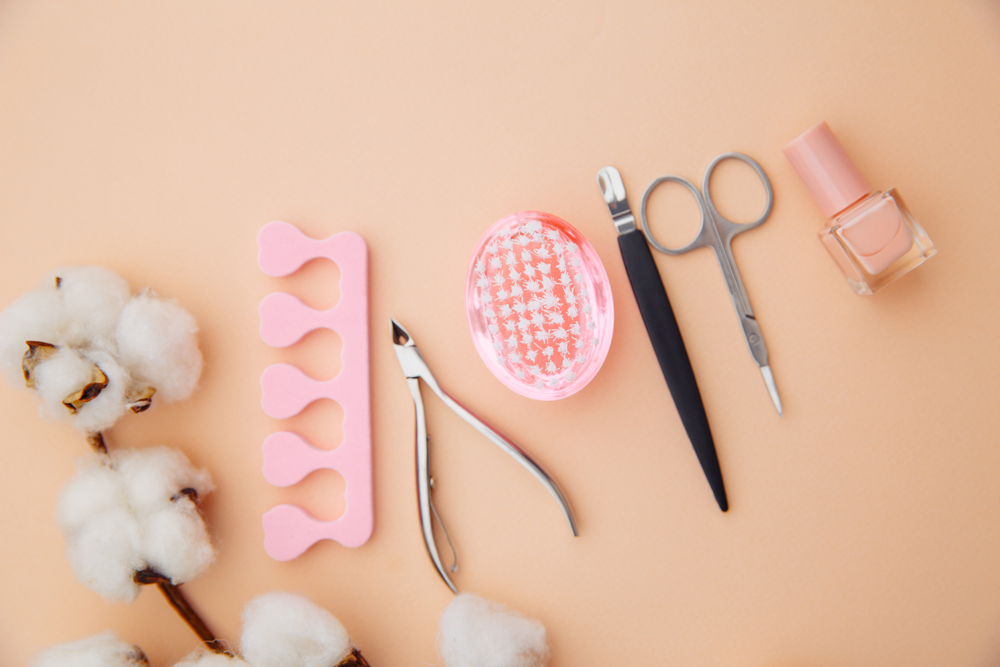
Preparing your natural nails before applying acrylic is essential for a smooth, long-lasting coating. Here’s everything you’ll need:
- Nail Clippers and Filer: Clip your nails to your desired length and use a nail file (preferably 180-grit or higher) to smooth and even out any rough edges.
- Cuticle Pusher and Nippers (Optional): While some kits may include them, they are not required for beginners. If you want a clean cuticle line, a cuticle pusher softly pushes the cuticle back, while nippers (used with caution!) remove unnecessary skin. Prior to application, soften cuticles with cuticle oil or remover.
- Buffer: Buffing lightly removes the natural shine from your nails, creating a better surface for the acrylic to adhere to.
- Lint-free wipes: These wipes ensure a dust-free nail plate for optimal application.
- Alcohol Pads: Disinfect your nails and remove any traces of oil before applying the acrylic.
Building the Base: The Acrylic Essentials
Now comes the heart of your DIY Acrylic Nail Set – the acrylic application products:
- Acrylic Powder and Liquid: This is the dynamic pair for forming acrylic structures on your nails. Powders come in a variety of hues, providing for limitless creative options. Choose a high-quality liquid monomer to ensure a smooth application and good cure.
- Dappen Dish: This small glass cup holds the acrylic liquid. Dip your brush slightly into the liquid for controlled application.
- Acrylic Brush: A quality acrylic brush is essential for sculpting and molding the acrylic. Choose a brush with high-quality bristles that don’t fray or clump. Consider using several brush sizes for elaborate nail painting patterns.
Shaping and Finishing: Perfecting Your Nails
Once you’ve applied the acrylic, it’s time to refine your creation:
- Nail Files (100-grit and 180-grit): Use a 100-grit file to shape the acrylic to your desired length and form. Follow up with a 180-grit file to smooth and refine the shape.
- Nail Buffer: Buff the acrylic gently to create a smooth, even surface for a flawless finish.
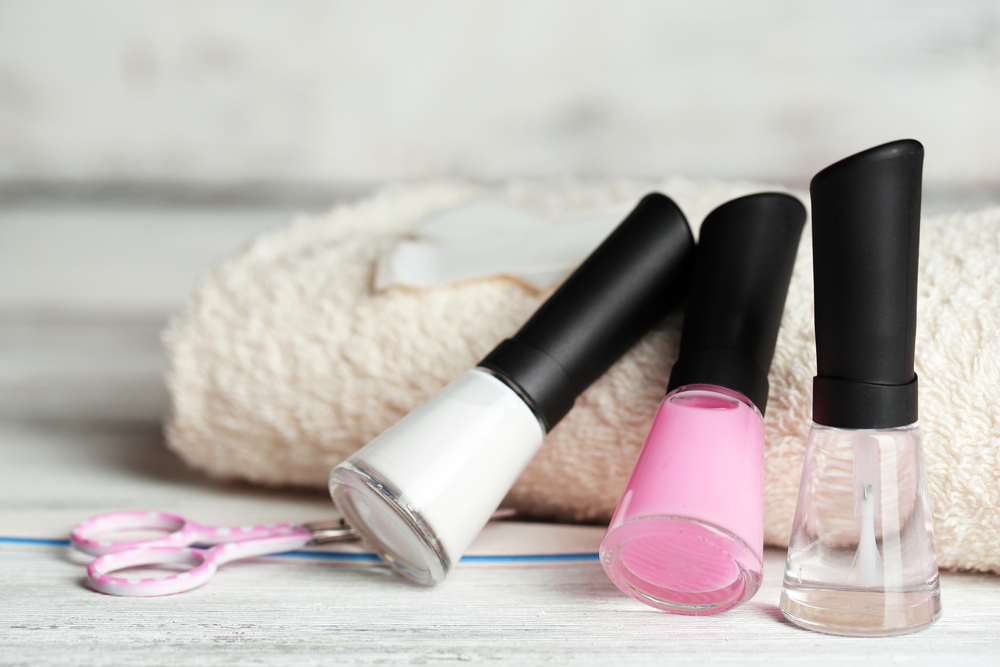
- Base Coat: Use a small layer of base coat to form a barrier between your natural nail and the polish, preventing discoloration.
- Nail Polish (Optional): Unleash your creativity with a wide range of nail polish colors and finishes. Consider using sheer polishes for a natural look or strong, dramatic hues for a statement manicure.
- Top Coat: Essential for a chip-resistant, glossy finish that protects your nail art.
Additional Tools for the Acrylic Nail Set Ambitious Manicurist
For those who crave more than just basic acrylic nails, here are some bonus tools to elevate your nail art game:
- Nail Forms (Optional): These pre-shaped templates help create uniform acrylic extensions, especially useful for beginners who struggle with shaping free edges.
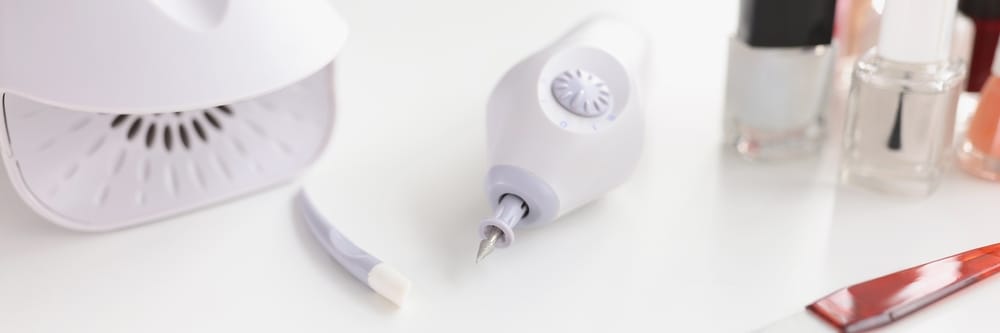
- Nail Art Tools (Optional): Explore the world of nail art with dotting tools for intricate designs, striping tape for clean lines, and nail art brushes for fine details.
- Nail Decorations (Optional): Rhinestones, glitter, flakes, and other embellishments offer character and flair to your acrylic nails.
Beyond the Tools: Safety and Maintenance Tips
- Ventilation is Key: Acrylic liquid has a strong odor and can irritate the respiratory system. Ensure proper ventilation by working in a well-ventilated area or wearing a mask.
- Protect Your Skin: Acrylic liquid can be harsh on the skin. Apply petroleum jelly or cuticle oil around your nails to create a barrier.
- Clean Up Spills Immediately: Clean up any spills with acetone or a designated acrylic liquid remover.
- Removal with Care: Never pry off acrylic nails. Soak them in pure acetone for 10-15 minutes, then gently buff and remove the softened acrylic.
- Maintain Healthy Nails: Acrylic nails may weaken natural nails over time. Take breaks between applications, employ nail strengthening products, and focus good nail care habits.
With the correct materials, education, Practice and some knowledge about Maintaining Your Acrylic Nails, you can create salon-quality acrylic nails from the comfort of your own home. So, unleash your inner nail artist, have fun playing with designs, and enjoy the delight of producing beautiful, long-lasting manicures.
