

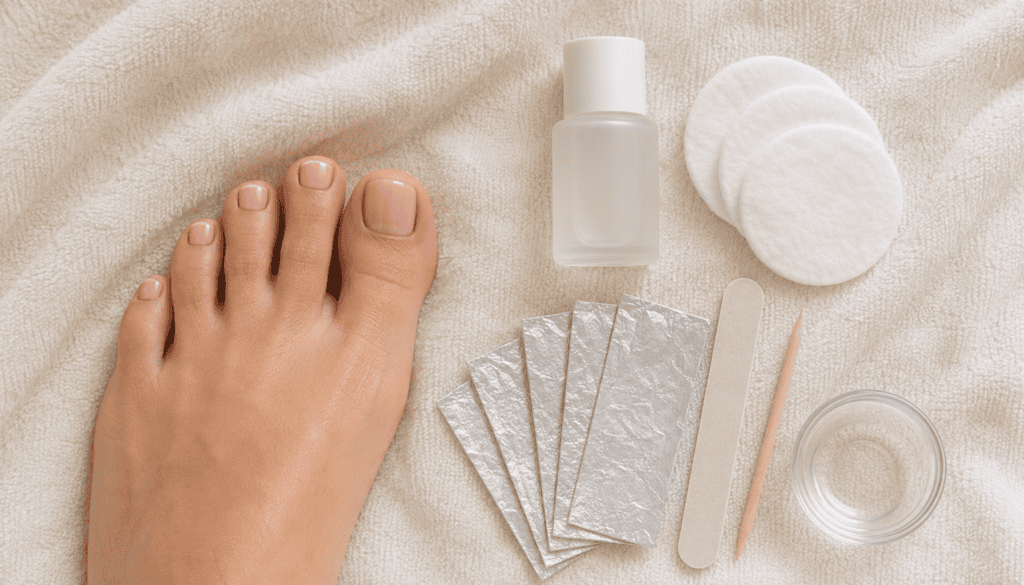
I love how neat acrylic toenails look, especially when the natural toenail shape is uneven or damaged; the acrylic will cover it very beautifully. But we need extra patience while removing them.
When acrylic starts to lift at the edge, it will be very tempting to pull it off, and if the acrylic is loose, you might think it will come off easily.
I won’t recommend that.
The Lifted edge may look loose, but the remaining acrylic is still firmly attached to the natural toenail. When you pull them, the acrylic and the natural layer are both peeled.
Toenails will grow much more slowly than fingernails. According to the Cleveland Clinic, it will take around 12 to 18 months for a complete toenail to grow back. That’s why I won’t rush this process strictly.
If you are wondering how to Remove Acrylic Toenails at home, the safest method is first to file the acrylic product, then use acetone to gently remove the remaining acrylic without forcing it and If you’re not sure whether it is time for removal, I shared more thoughts on how long acrylic toenails last here.
Here is what I prefer to do,
What You’ll Need
Before starting, I will keep all the needed essentials near me. Once you wrap the toenails, you don’t want to walk searching for cotton pads or a file. So it’s better to gather all the needed things with you,
Youll need,
- 100% pure acetone
- Cotton balls or cotton pads
- Aluminum foil cut into small squares
- Nail clippers
- A medium-grit nail file
- A fine nail file or buffer
- Petroleum jelly
- Wooden manicure stick
- Cuticle oil or moisturizer
- An old towel
I prefer using a wooden manicure stick rather than a sharp metal cuticle tool. This will be gentle on toenails, and there’s very little chance of accidentally scraping the nail surface.
Acetone has a strong smell, so work near a window or in a properly ventilated room. Acetone is highly flammable, so keep it away from candles, gas stoves, cigarettes, and heated styling tools.
How to Remove Acrylic Toenails at Home
1. Trim The Extra Length
Start by trimming only the acrylic that extends beyond your natural nail
I recommend trimming them as small cuts rather than trimming the entire acrylic at once. When you put more pressure on the thick acrylic, it may crack.
If your acrylic nails are already short, just skip this step.
2. File Away the Shiny Topcoat
Next, file the glossy topcoat gently until the surface gets dull.
This will help the acetone to reach underneath the acrylic. I also like to reduce some thickness, especially on big toenails, since that is usually where more product is applied.
You don’t need to file all the way down to your natural nail.
It’s better to leave a thin acrylic layer than to file too deep and damage the natural nail. When your nails start feeling warm, sensitive, or uncomfortable, stop immediately.
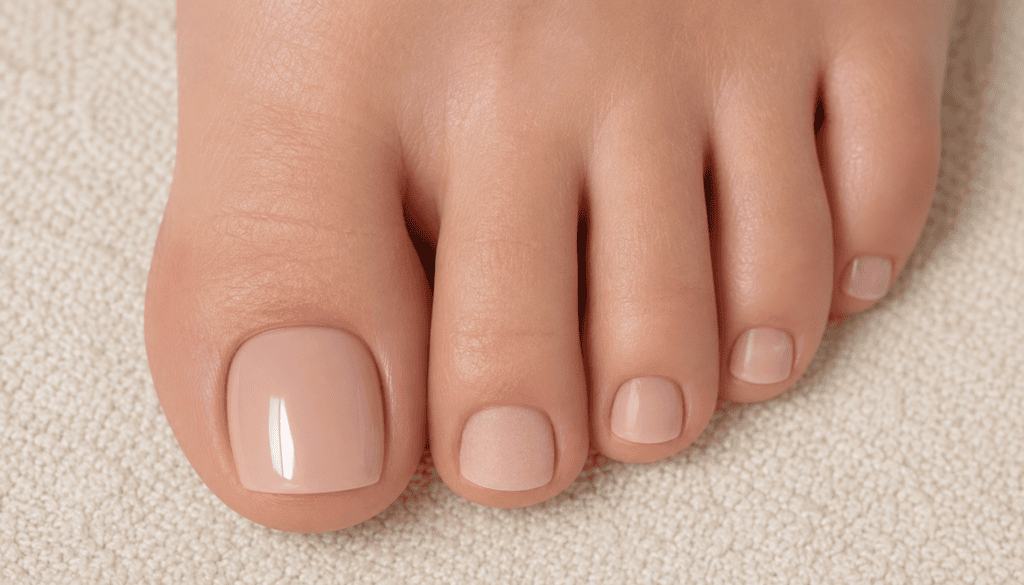
3. Protect the Skin Around Your Toenails
Acetone can make the skin feel dry, so I apply a little petroleum jelly around each toenail before wrapping it.
Apply it to the cuticle and surrounding skin, but avoid applying it to the acrylic surface.
The American Academy of Dermatology recommends keeping the acetone-soaked cotton directly on the nail and limiting contact with surrounding skin.
4. Wrap the Toenails With Acetone
Soak a small piece of cotton in 100% acetone and place it directly on the acrylic.
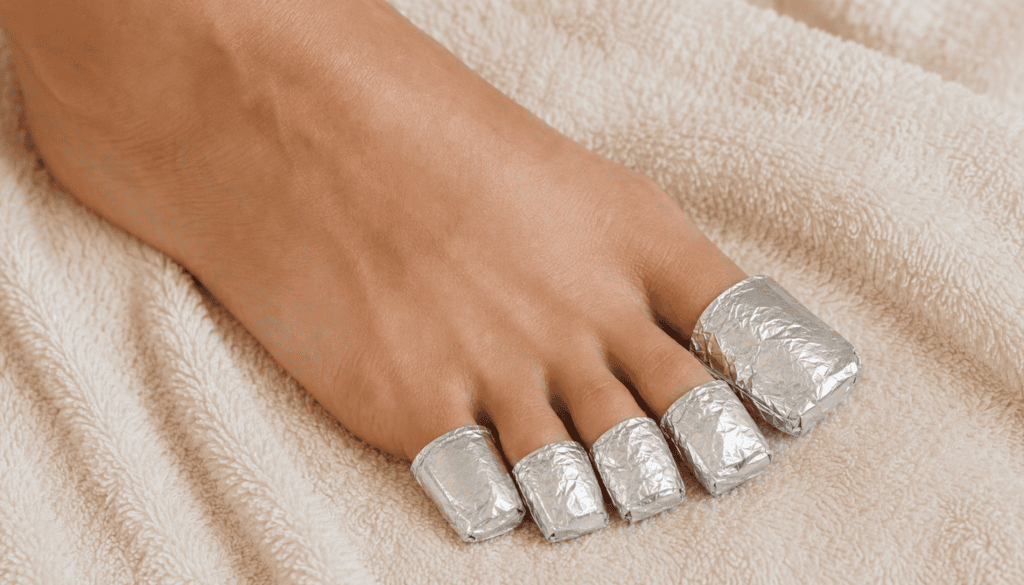
Wrap the toenail with a small piece of aluminum foil to keep the Cotton in the correct position. It should feel secure, but not tight or uncomfortable.
Repeat this process for all the nails.
I prefer this foil wrap method to dipping the nails directly in acetone. Foil will make the cotton wrap hold properly on the nails, and acetone contact with surrounding skin will also be limited.
5. Give the Acetone Time to Work
Before checking a toenail, make sure to leave the wrap for approximately 20 to 30 minutes.
The acrylic starts to turn soft, flaky, or gummy. If it still looks hard, add acetone again to the fresh cotton and wrap it again for 10 mins.
Big toenails may take longer, as the acrylic layer will be thick; I don’t see that as a problem. I would rather soak it twice than scrape the natural nail.
6. Gently Remove the Softened Acrylic
Remove one foil wrap at a time.
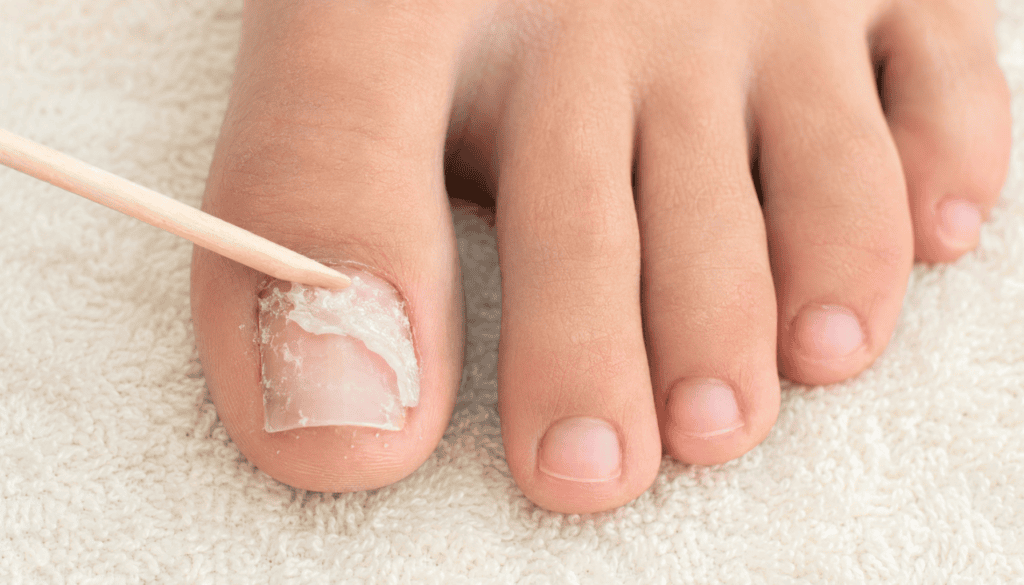
Using a wooden manicure stick, gently remove the softened acrylic, moving from the cuticle area toward the toenail end.
The acrylic will release with little pressure itself. If it doesn’t come off in one section, it isn’t ready; leave it and soak the acrylic again in acetone.
Never push the stick firmly underneath the acrylic or use it to lift the entire enhancement. That can damage or separate the natural toenail.
7. Smooth the Remaining Product
There may be a few acrylic patches left after soaking; use a fine nail file or a buffer and file it very lightly on the loose residue. Don’t try to buff until the toenail looks clear.
After removing the acrylic, the natural nail may look dry or uneven, and that’s very normal after using the acetone.
If a thin patch is firmly attached to the nail, I will leave it rather than overfiling. You can soak it again in acetone or leave it grow out gradually.
8. Wash and Moisturize Your Feet
Wash your feet with mild soap and lukewarm water, especially between the toes, and dry them completely.
Finally, I finish by applying cuticle oil or plain moisturizer on the toenails, cuticles, and surrounding area. Acetone will remove the natural oils, so this step makes the nails and skin feel much better and more comfortable.
The CDC also recommends washing the feet regularly, drying them completely, and changing socks daily.
Acrylic Toenail Removal Essentials
These are the basic tools I like to keep beside me before starting. Having everything ready makes the removal process feel much easier and less rushed.
